Node certification and user roles
Node certification
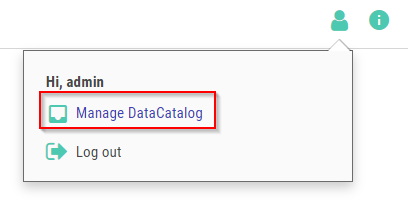
In the Data Catalog, Data Stewards (usually admins or container admins) can certify nodes. By certifying nodes, you let other users know that the data is verified. To certify a node, go to the custom search page by clicking Manage Data Catalog in the top-right corner.
Manage Data Catalog
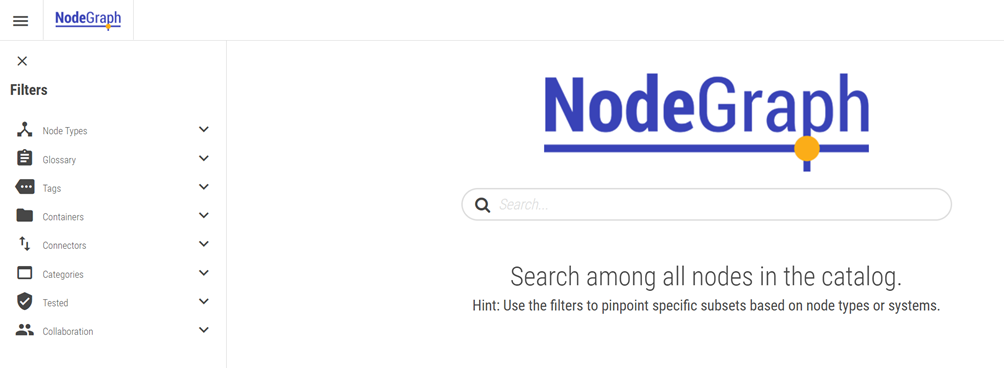
Use the search box and/or filters on the left side to pinpoint specific nodes.
Data Catalog filters
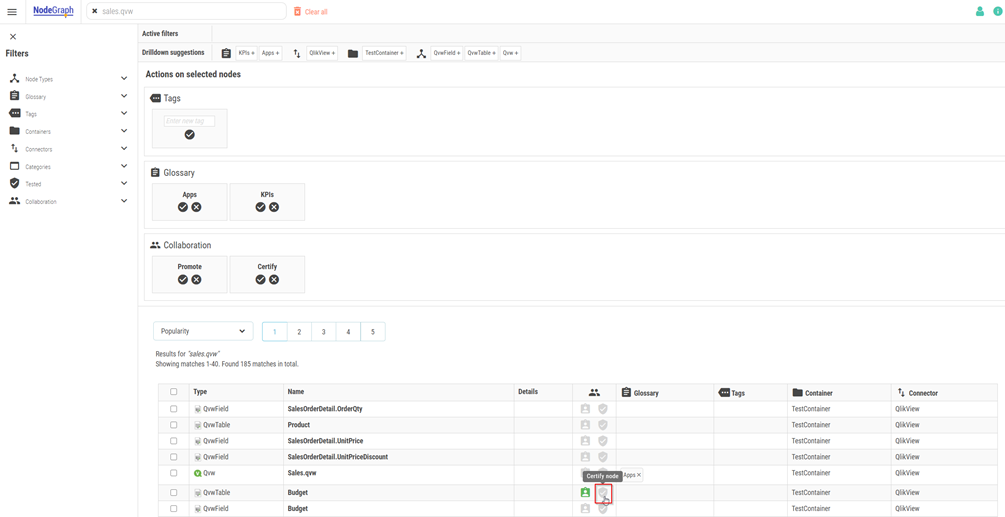
As an example, you can search for Sales.qvw and sort by Popularity. You can then certify the Budget node from this view if you want to.
Certifying a node
You can also click on the node to expand it and get even more details if needed before certifying. It is also possible to add comments here.
Detail view of a node
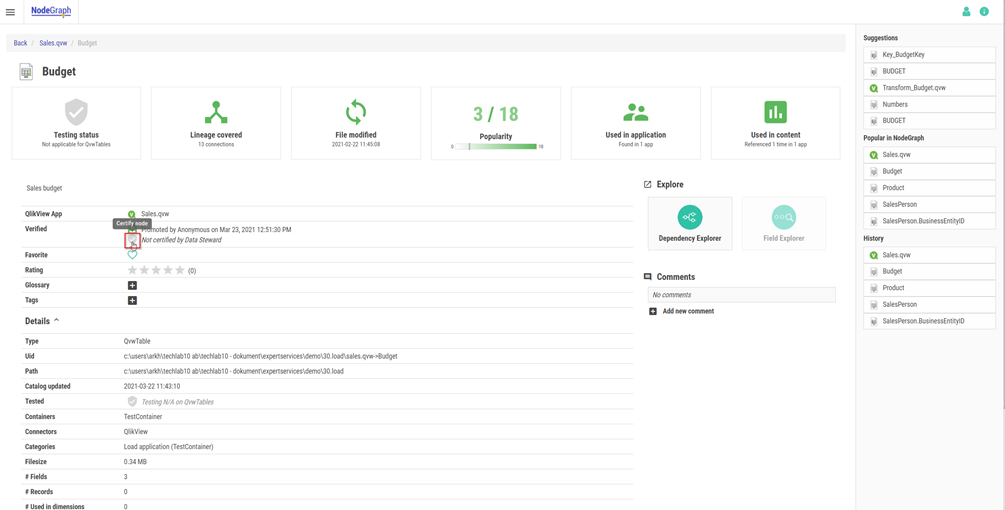
To make it easier to find nodes of interest, a collaboration feature for node verification has been added to the Catalog. All users can promote any node that they feel could be of interest for their peers. Data Stewards can certify a node to show all users that the node fulfills any requirement that the organization might have, e.g. that a specific KPI has a valid definition, and its output has been verified.
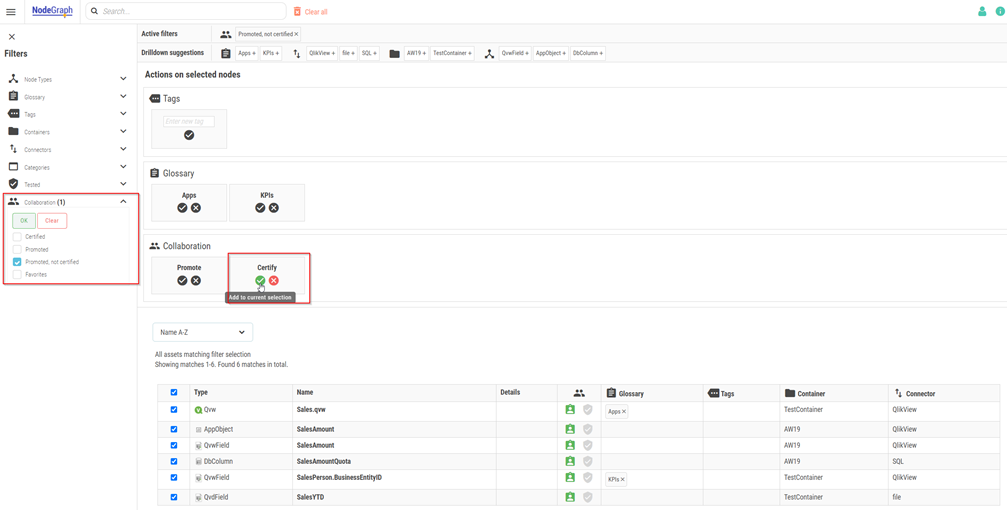
To make it easy for Data Stewards to act on nodes that have been promoted by a user, the filters can be used to show only the nodes that have been promoted, but not yet certified.
It is also possible to bulk certify many nodes by selecting them and then pressing the green check marker under Collaboration.
Bulk certifying nodes
Users and roles
If multiple security levels are required, you will need to set up user accounts for these different access levels. As mentioned in Containers, the information could also be split in containers based on security reasons. It is only on container levels that security can be applied.
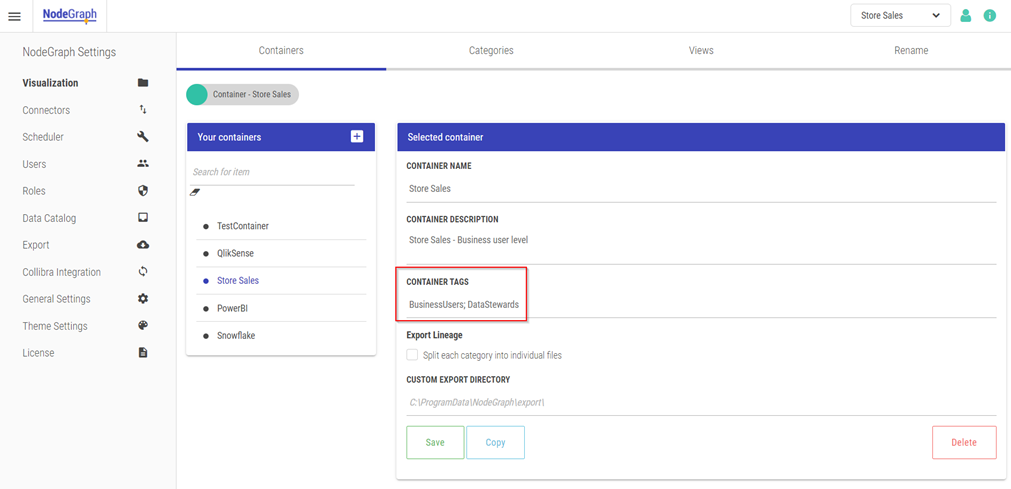
The security access is on Container Tag level. To set a tag, go to the NodeGraph settings and go to the desired container.
Container tags
To set up users, go to the Users settings in NodeGraph and click “Add user”. You can set up container tags here as well as giving access to different modules, as seen below. It is recommended to do this to avoid overwhelming users that do not need to see all the information. If the user should be an admin, check the “Is this user an admin?” box and all the modules will be selected.
User module access
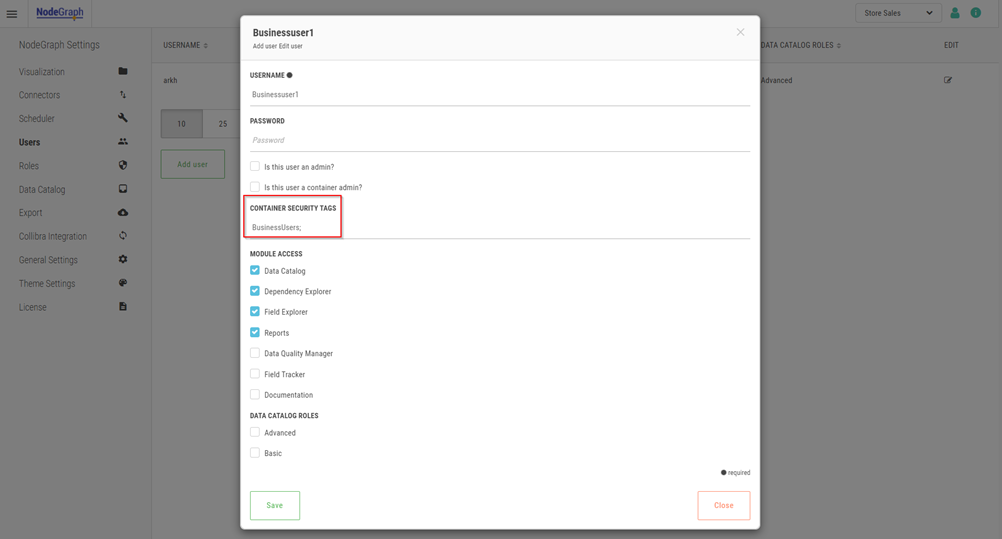
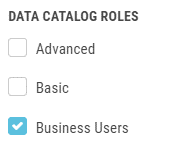
As you can see in the last image, the user “BusinessUser1” has access to the Data Catalog. If you look at the very bottom of the image you can see that there is a section called “Data Catalog Roles”. This is a feature added to limit the amount and type of information in the Data Catalog because it might not all be relevant for all users. A business user might not need to see the database tables or views. This is a great way to narrow down the information users can see to avoid overwhelming them.
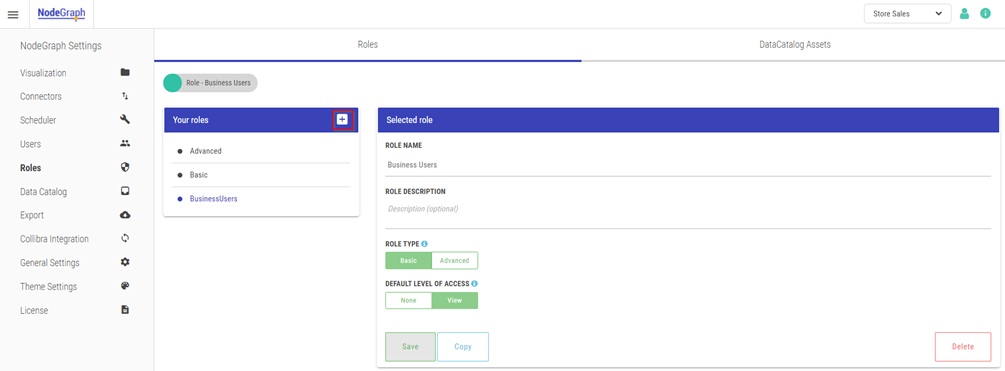
To change or set up the roles, go to the Roles section in the settings. From there you can use the two pre-made roles (Advanced & Basic) and configure these. You can even add custom roles if needed.
Select the plus sign to add a role.
Add a Role
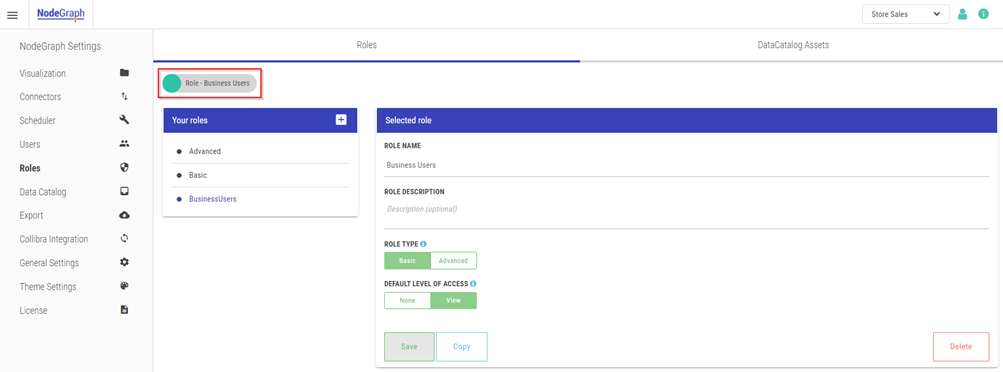
To change what the role can see in the Data Catalog, select the role (you can see which role is selected by looking at the top left of the screen).
Editing a Role
Click on Data Catalog Assets on the top right to change the role settings. You can control the Data Catalog level of access from here.
Data Catalog Asset settings
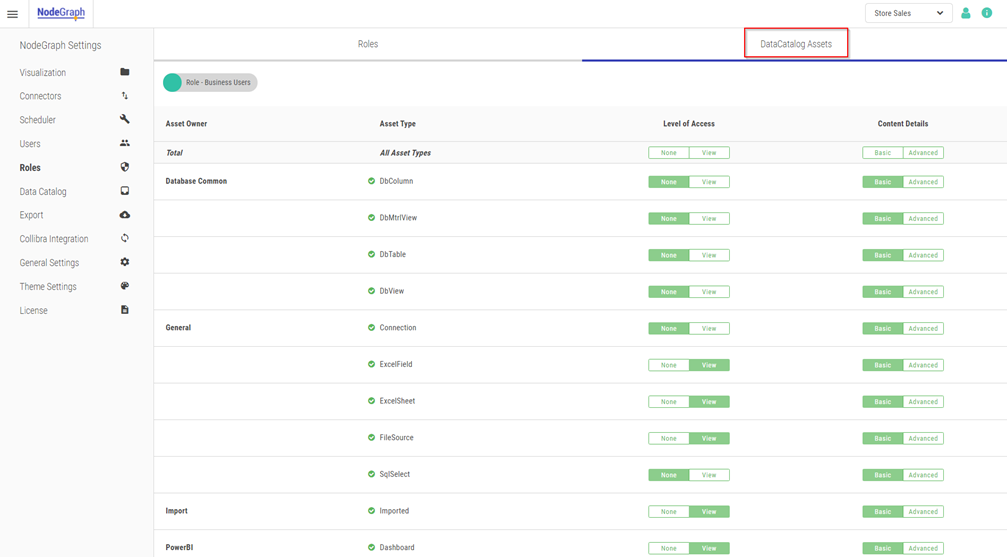
Data Catalog user roles
