Installing NodeGraph
Installing NodeGraph is done by running the installer. By default, it will be installed into your Program Files folder and store data under the common ProgramData.
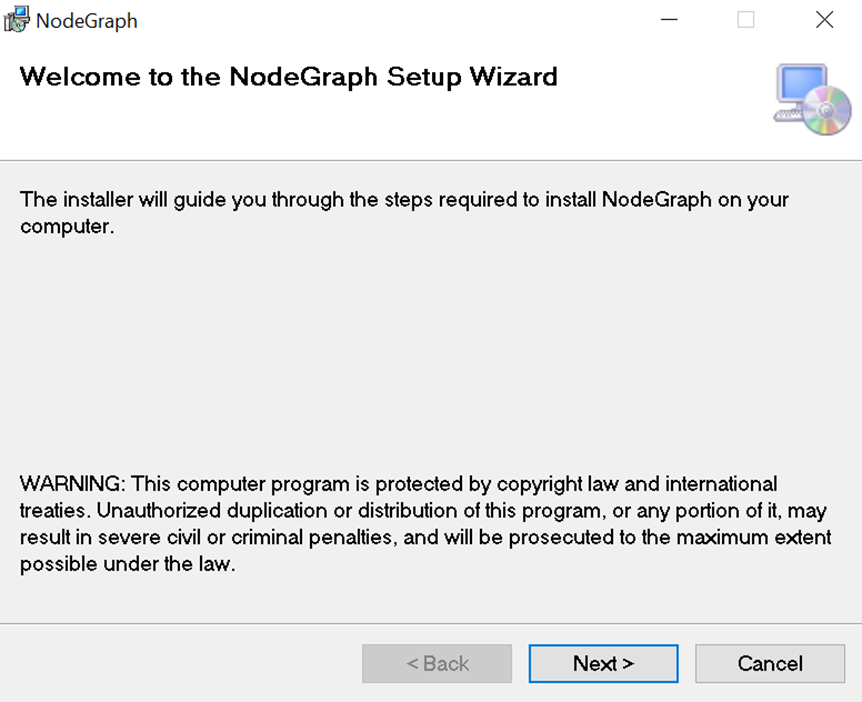
Save the installation package locally and run setup.exe.
Click Next to continue.
NodeGraph installer

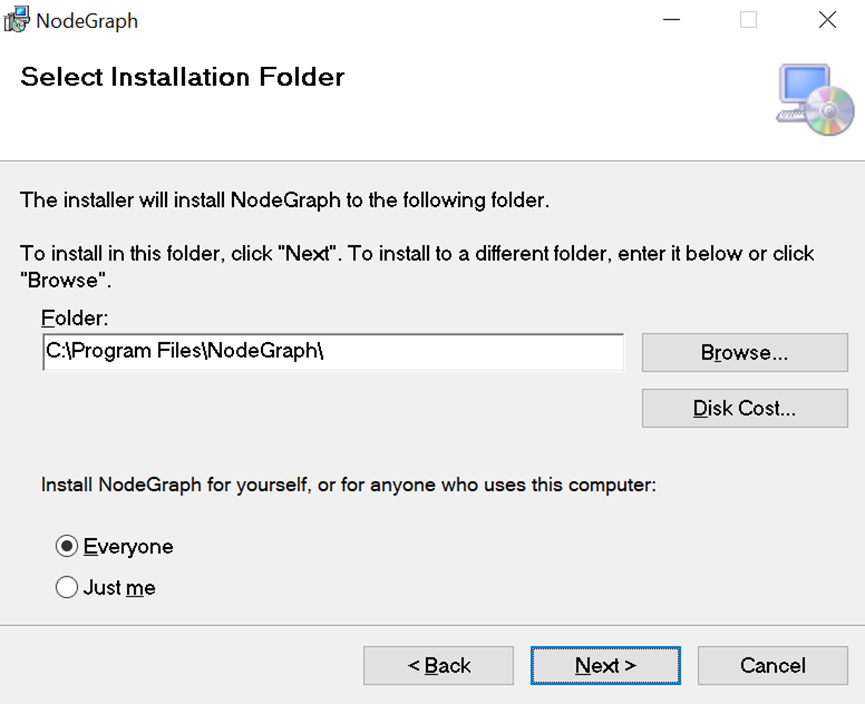
Select where you want to install NodeGraph and click Next:
NodeGraph installation

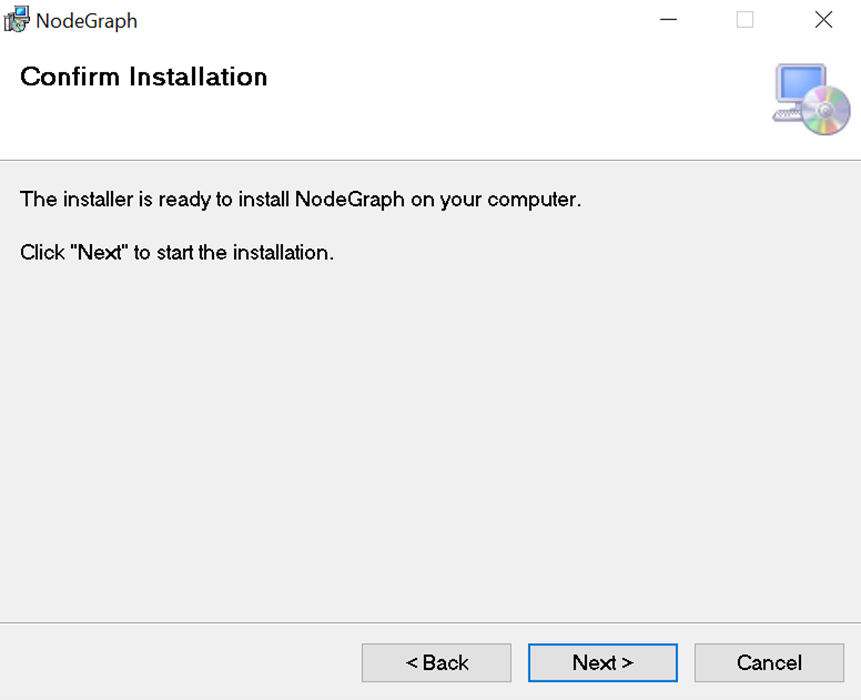
Click Next to confirm the installation:
Confirm the installation

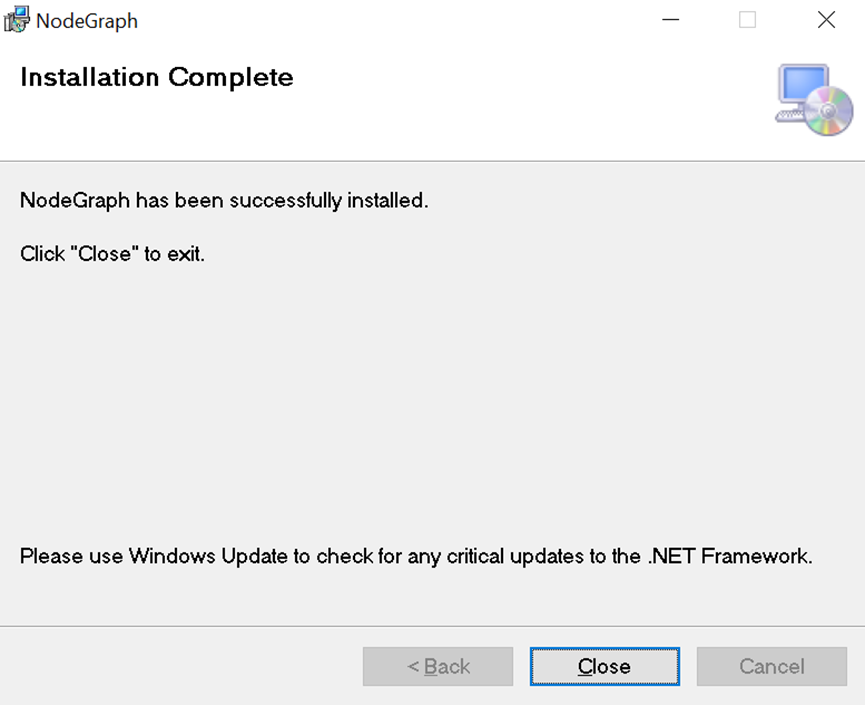
Click Close when finished:
NodeGraph finished installation

The NodeGraph service is now installed and runs with the default account Local System.
The user account usually needs to be changed to ensure that the service has access to all folders that are used in tools, e.g., mapped folders, network drives or SAN. See Service account and access for more information.
