
Custom component
When your studio is connected to SVN or Git, the Custom component node displays in the tree diagram to the left of the Project Settings dialog box, in favor of sharing the external user or custom component installed in your studio with the other users of the same project.
Procedure
-
On the toolbar of the Studio main window, click
 or
click from the menu bar to open the Project
Settings dialog box.
or
click from the menu bar to open the Project
Settings dialog box.
-
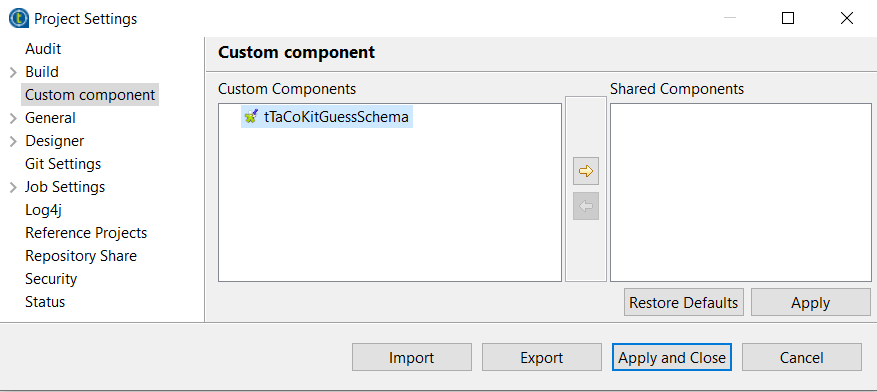
In the tree view of the dialog box, click the Custom
component node to open the corresponding view on the right of
the dialog box. If you have already installed your user or custom component in
your studio, these components display on the left part of the Custom
component view.
The custom components can be installed from the Preferences dialog box or imported from Talend exchange .
For further information about how to install a user component from the Preferences dialog box, see How to define the user component folder (Talend > Components).
For further information about how to import external custom components, see Downloading/uploading Talend Community components.
One example is provided on Talend Help Center, which describes how to download a custom component from Talend Exchange and install it.
For more information, see How to install and update a custom component .
-
Click the custom or user component(s) of your interest to activate the
 button, and
click this activated button to move the selected component(s) into the
Shared Component view.
button, and
click this activated button to move the selected component(s) into the
Shared Component view.
To revoke this sharing, select the component(s) you want to stop sharing in the Shared Component view and click the
 button to
move the selected component(s) into the Custom
Components view.
button to
move the selected component(s) into the Custom
Components view.