Example: Manually recreating QlikView content in Qlik Sense
Certain visualizations and other objects cannot be converted using the QlikView converter. This topic provides an example of how to manually recreate some of that content in Qlik Sense.
In this example, we do the following to recreate the QlikView document Customers.qvw in Qlik Sense.
- Convert some objects in a QlikView document called Customers.qvw using the QlikView converter.
- Place those QlikView objects in a Qlik Sense app.
- Manually recreate the QlikView objects that were not converted in the Qlik Sense app.
Customers contains four sheets:
- Main
- Container object
- Conditional show
- Forecast
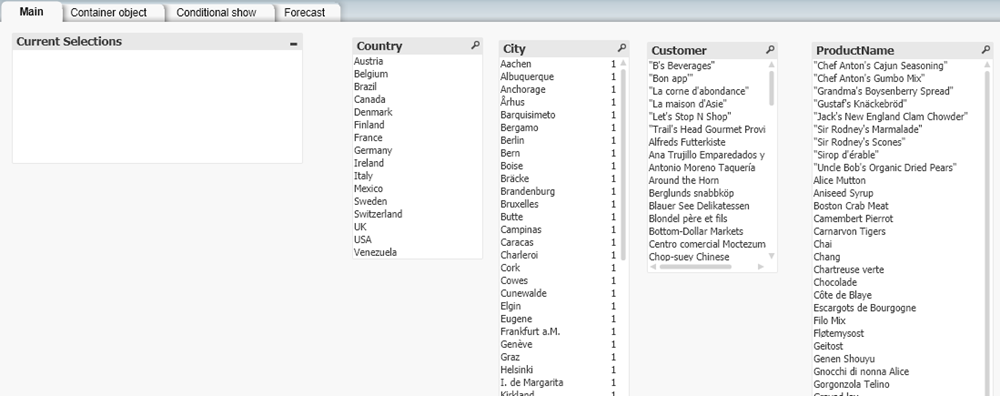
Main sheet in Customers document in QlikView
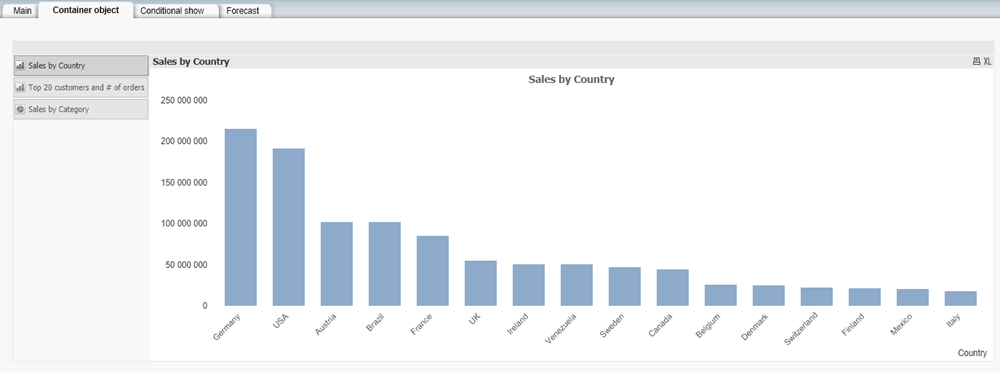
Container object sheet in Customers document in QlikView
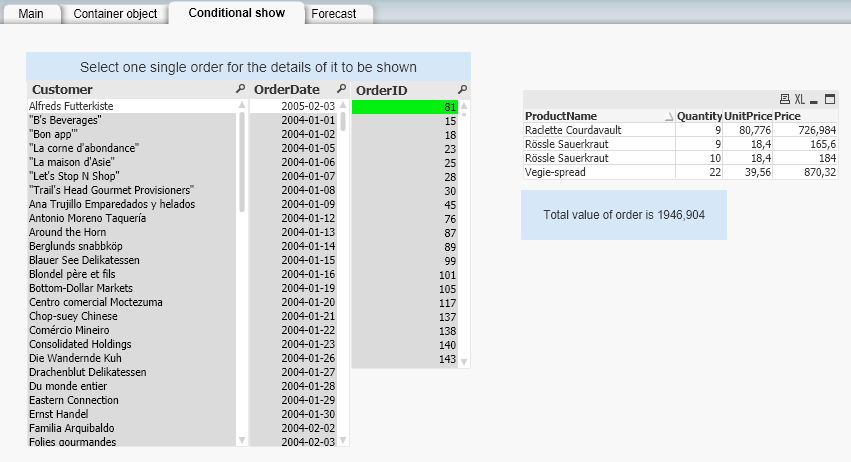
Conditional show sheet in Customers document in QlikView
Forecast sheet in Customers document in QlikView
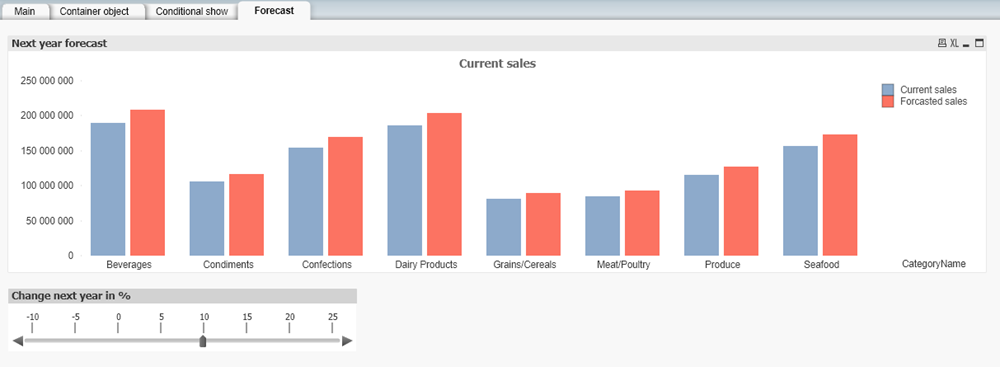
The document contains the following objects that the converter will convert, or that we will recreate recreated manually in Qlik Sense:
-
Main sheet:
- list boxes (converter)
-
Container object sheet:
- visualizations (converter)
- container (manual)
-
Conditional show sheet:
- list boxes (converter)
- table box that uses the conditional show function (manual)
- text objects (manual)
-
Forecast sheet:
- chart (converter)
- slider box with variable for user input (manual)
Requirements
- Access to the Dev Hub in Client-Managed Qlik Sense.
Restrictions
- You cannot use the QlikView converter to convert documents that are larger than 500 MB on disk. You can reduce the amount of data in a document, or save the document without data, to reduce the size of a document without losing assets.
Recreating a QlikView document as a Qlik Sense app
We do the following in this example:
-
Open the Dev Hub in Qlik Sense, and then select QlikView converter.
For more information, see QlikView converter.
-
Drag and drop the Customers.qvw document into the converter. Qlik Sense processes the document.
-
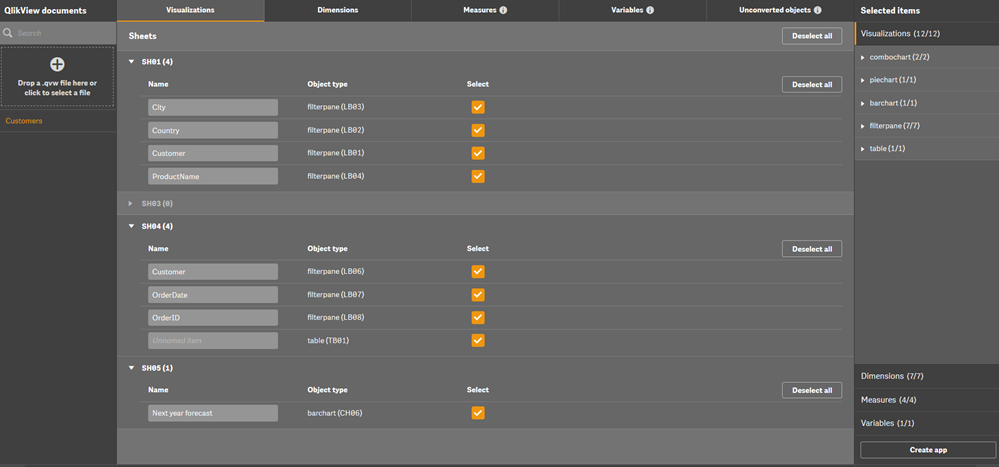
Select the Customers.qvw document, and then Select all objects in the Visualizations tab.
Visualizations tab in Customers document in converter tool
-
Review the tabs and then click Create app. The Customers app is created in the Qlik Sense hub. The objects are created as Master items in the Assets panel. You can access and create new variables in the Variables window.
Assets panel in Qlik Sense
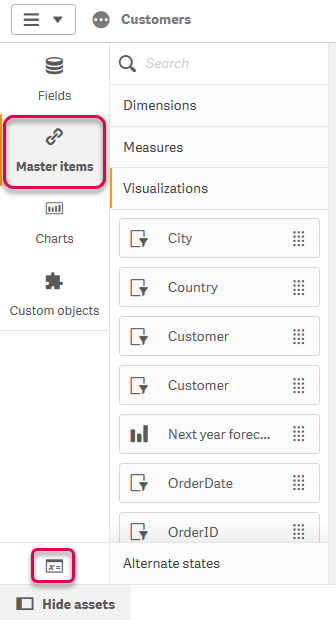
- Open the Customers app and create a new sheet. Name the sheet Main. Click Master items and then drag the following tables onto the sheet:
- Country
- City
- Customer
- ProductName
Completed Main sheet in Customers app
 Information noteFor more detailed steps about creating a Qlik Sense app using the QlikView converter, see Example: Moving QlikView content to Qlik Sense using the QlikView converter
 - Create a new sheet and name it Container object.
- Recreate the behavior from the container in QlikView.
Click Edit sheet on the sheet, and then click Charts. The Container object is listed.
Container in Charts
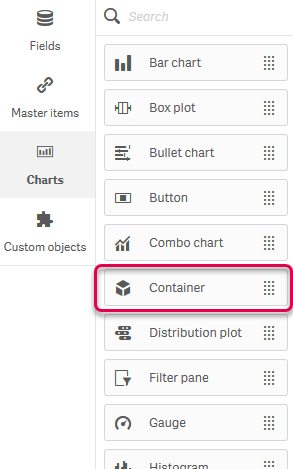
Drag Container onto the sheet.
Container on sheet
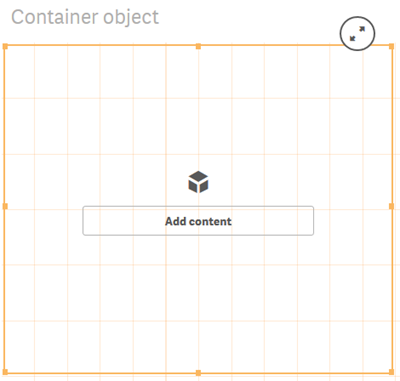
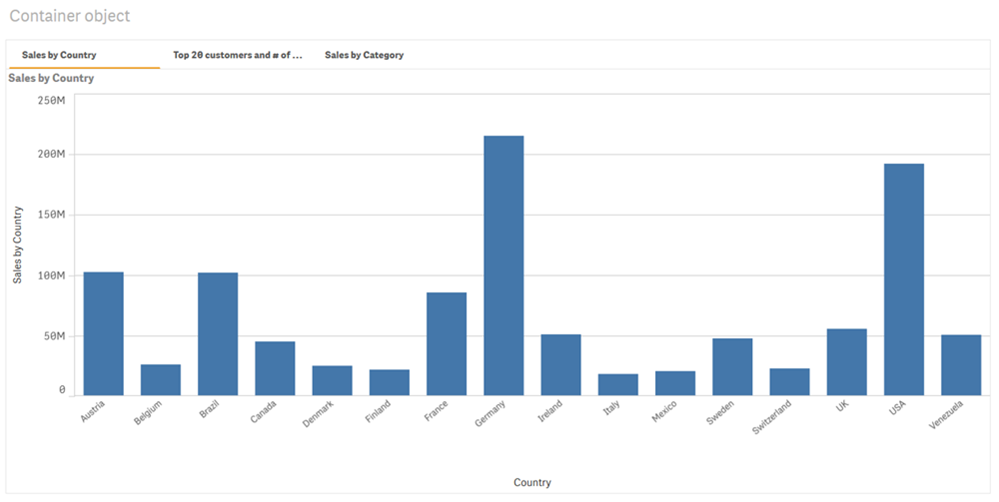
From Master items, add Sales by Country, Top 20 customers and # of orders, and Sales By Category to the container. When we are done editing, we can view each of the charts by clicking on their respective tabs.
Completed Container object sheet
- Create a new sheet and name it Conditional show.
- Recreate the behavior from the table box in QlikView. The table displays when the conditional show function evaluates to true.
- From Master items, drag the Customer, OrderDate and OrderID tables onto the sheet.
- From Charts, drag a new table onto the sheet, and then name it Conditional table.
Add ProductName to the table as a dimension. Add Quantity, Unit Price, and Price to the table as measures.
Conditional show sheet
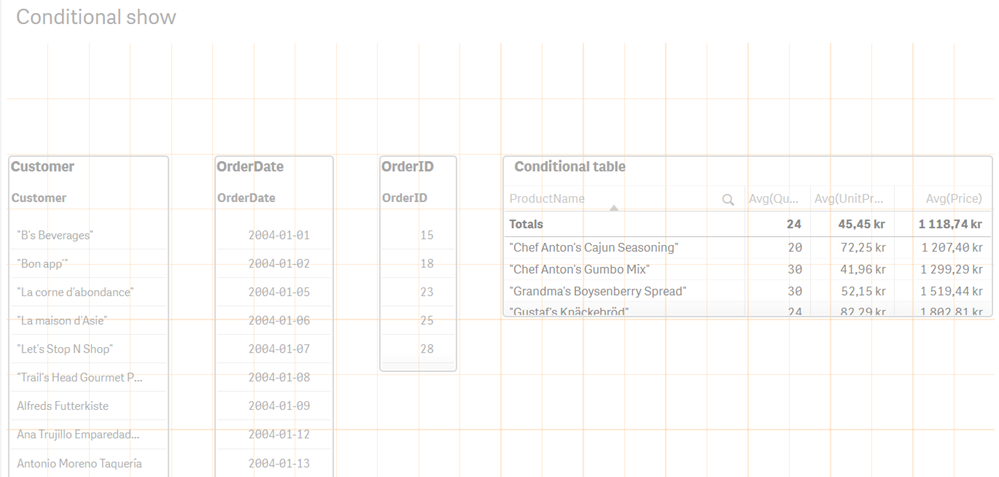
- Click the Conditional table, click Add-ons in the Properties panel, and then click Data handling.
Enter the following for Calculation condition: Count (distinct OrderID)=1
This is the same expression that was used for the show condition in QlikView.
Enter Select one value in the OrderID table for Displayed message.
Modify Conditional table
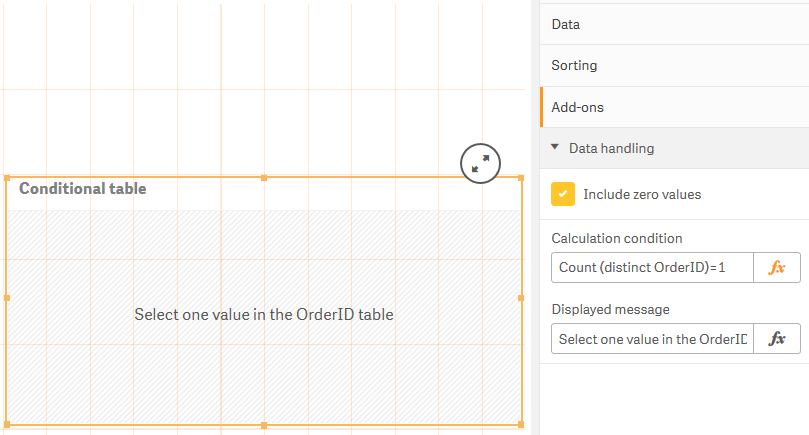
When we are done editing, we can select a value in the OrderID table to show the associated data in the Conditional table.
Select one value for Order ID
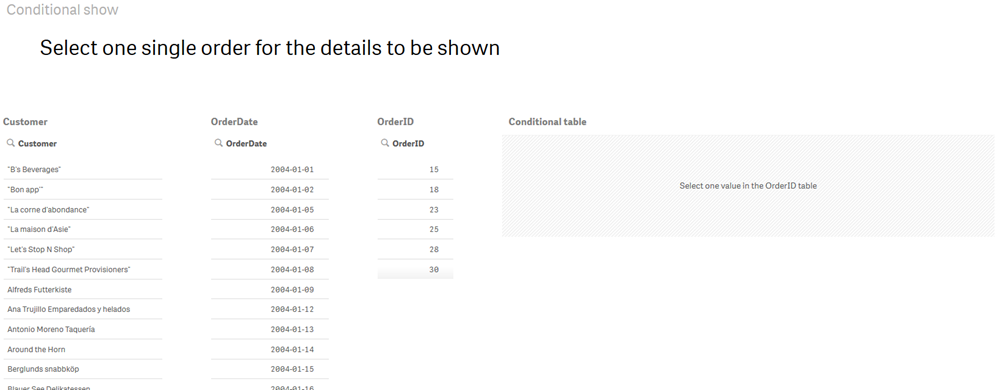
Associated data in Conditional table

-
From Charts, drag Text & image onto the sheet.
Text & image in Charts
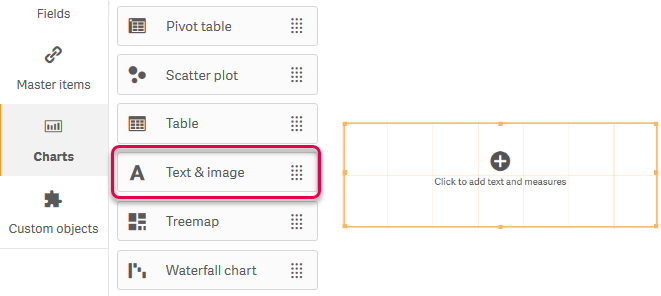
- Add the following text: Select one single order for the details to be shown
-
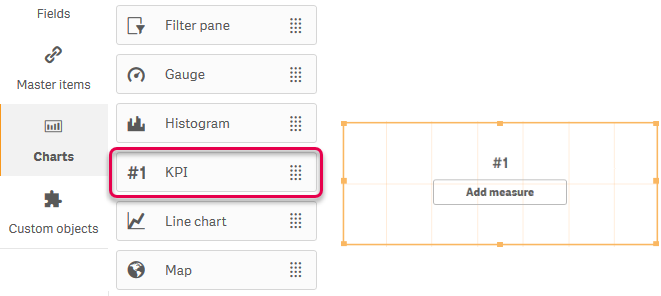
From Charts, drag KPI onto the sheet.
KPI in Charts
-
Under Data in the Properties panel, enter =Sum(Price) as the Expression for the measure, and Total value of order for the Label.
Configure KPI
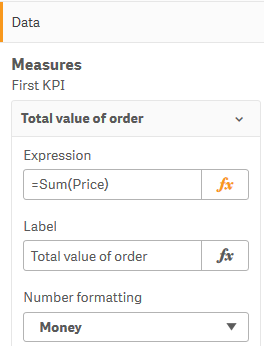
Additionally, set Calculation condition and Displayed message to the same values as those for the Conditional table.
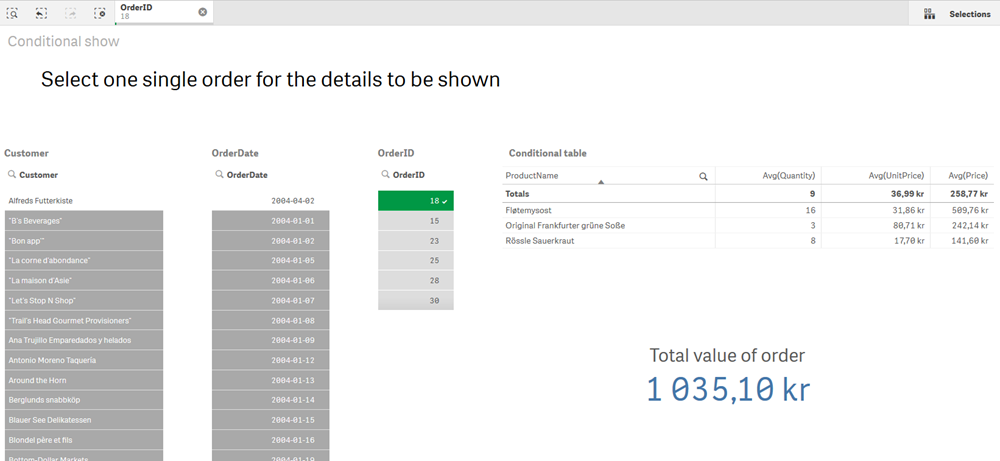
When we are done editing, we can select a value in the OrderID table to show the associated data in the Conditional table and the KPI.
Select one value for Order ID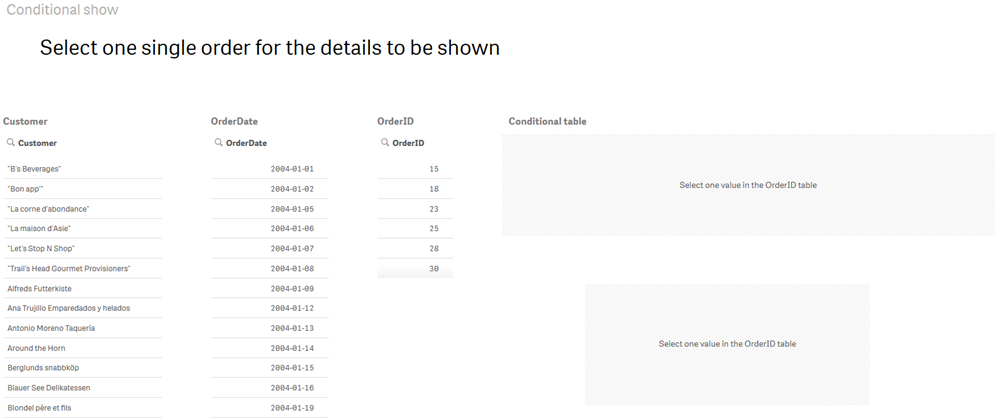
Completed Conditional show sheet
- Create a new sheet and call it Forecast.
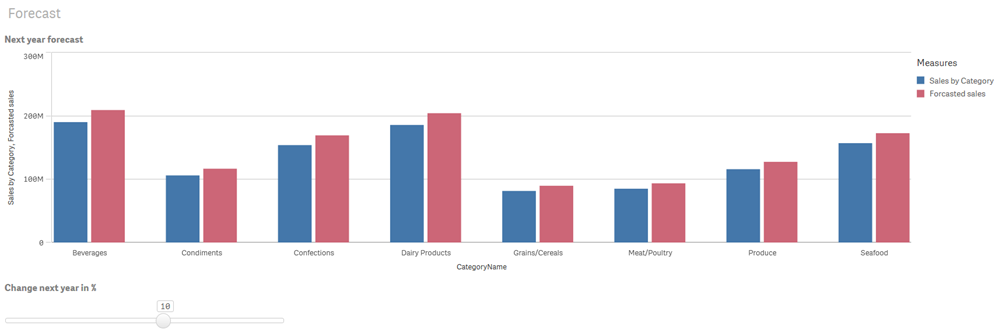
- Recreate the Next year forecast table from QlikView.
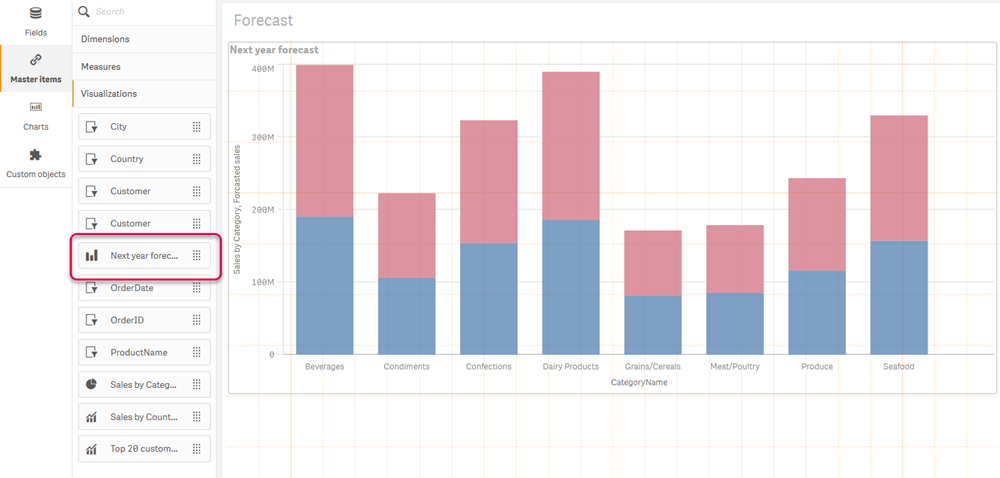
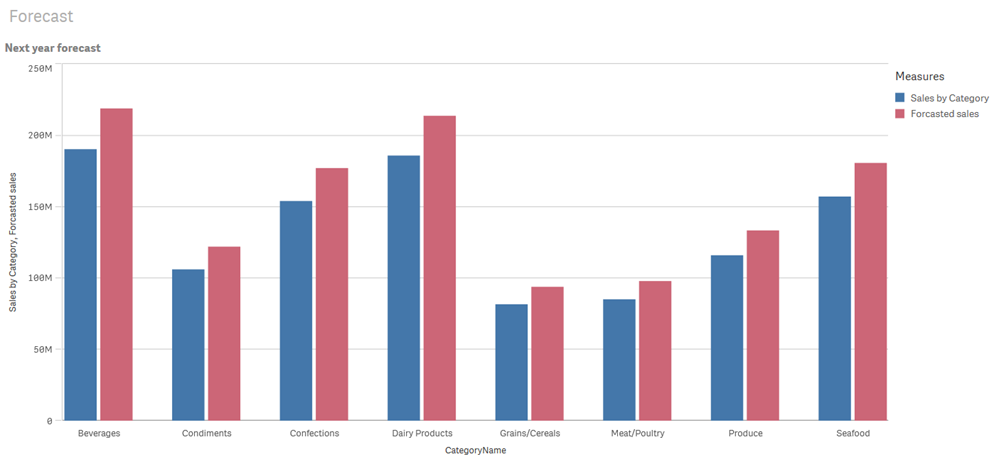
From Visualizations in Master items, drag Next year forecast onto the sheet.
Next year forecast visualization
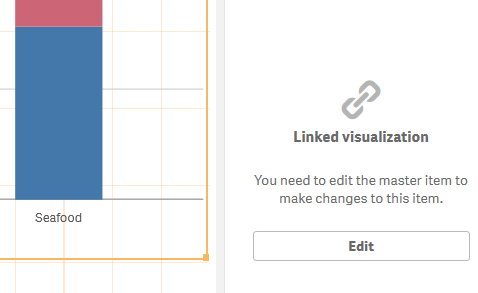
Click the visualization, and then Edit the linked master item.
Edit master item
Under Appearance/Presentation in the Properties panel, change the view from Stacked to Grouped. Under Colors and legend, set Show legend to Auto.
Chart presentation

When we are done editing, the appearance of the visualization is similar to that from QlikView.
Completed Next year forecast visualization
- Recreate the slider box from QlikView on the Forecast sheet. The slider uses a variable for user input. The variable was copied by the converter.
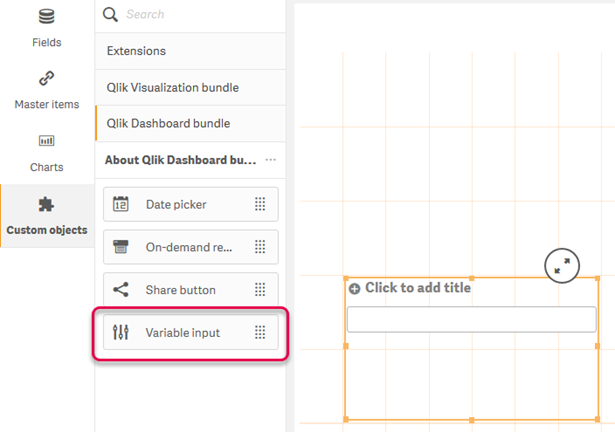
From Qlik Dashboard bundle in Custom objects, drag Variable input onto the sheet.S
Variable input in Custom objects
- Under Appearance/General in the Properties panel, enter Change next year in % for the Title.
Under Variable, select the Forecast variable under Name, and then select Slider under Show as.
Under Values, set Min to -10, Max to 25, and Step to 5. Finally, select Slider label.
Configure Variable input

When we are done editing, we can use the slider to change the forecast.
Completed Forecast sheet
