Deploying and approving your model
The next step is to deploy your model, and then approve it so that it can generate predictions.
Deploying a model
Deploying a model allows you to use it to generate predictions on new data.
The model refinement process is different for each project you work on. Once you have a model that meets the criteria for your use case, you can deploy it. This will create an ML deployment, which is available in the catalog.
For more information about deploying your models in Qlik AutoML, see Working with ML deployments.
Do the following:
-
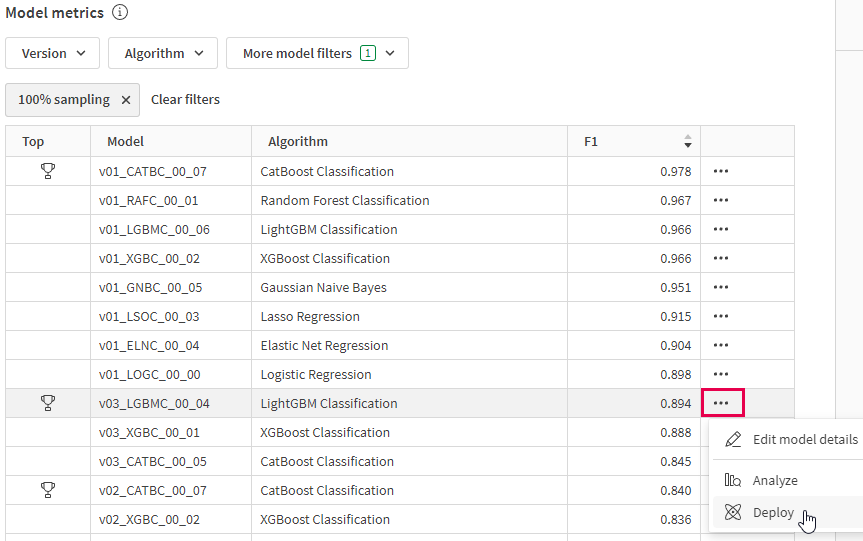
Switch back to the Models tab in the experiment.
-
Click the
icon next to the top-performing model from v3.
-
Click
Deploy.
-
Type a name for your deployment, such as Customer churn deployment.
Alternatively, keep the default deployment name.
-
If needed, adjust the space, description, and tags.
-
Click Deploy.
Deploying a model in Qlik AutoML

Your new ML deployment will now be available in the catalog.
Click Open, or navigate back to the catalog and open the ML deployment.
Approving your model
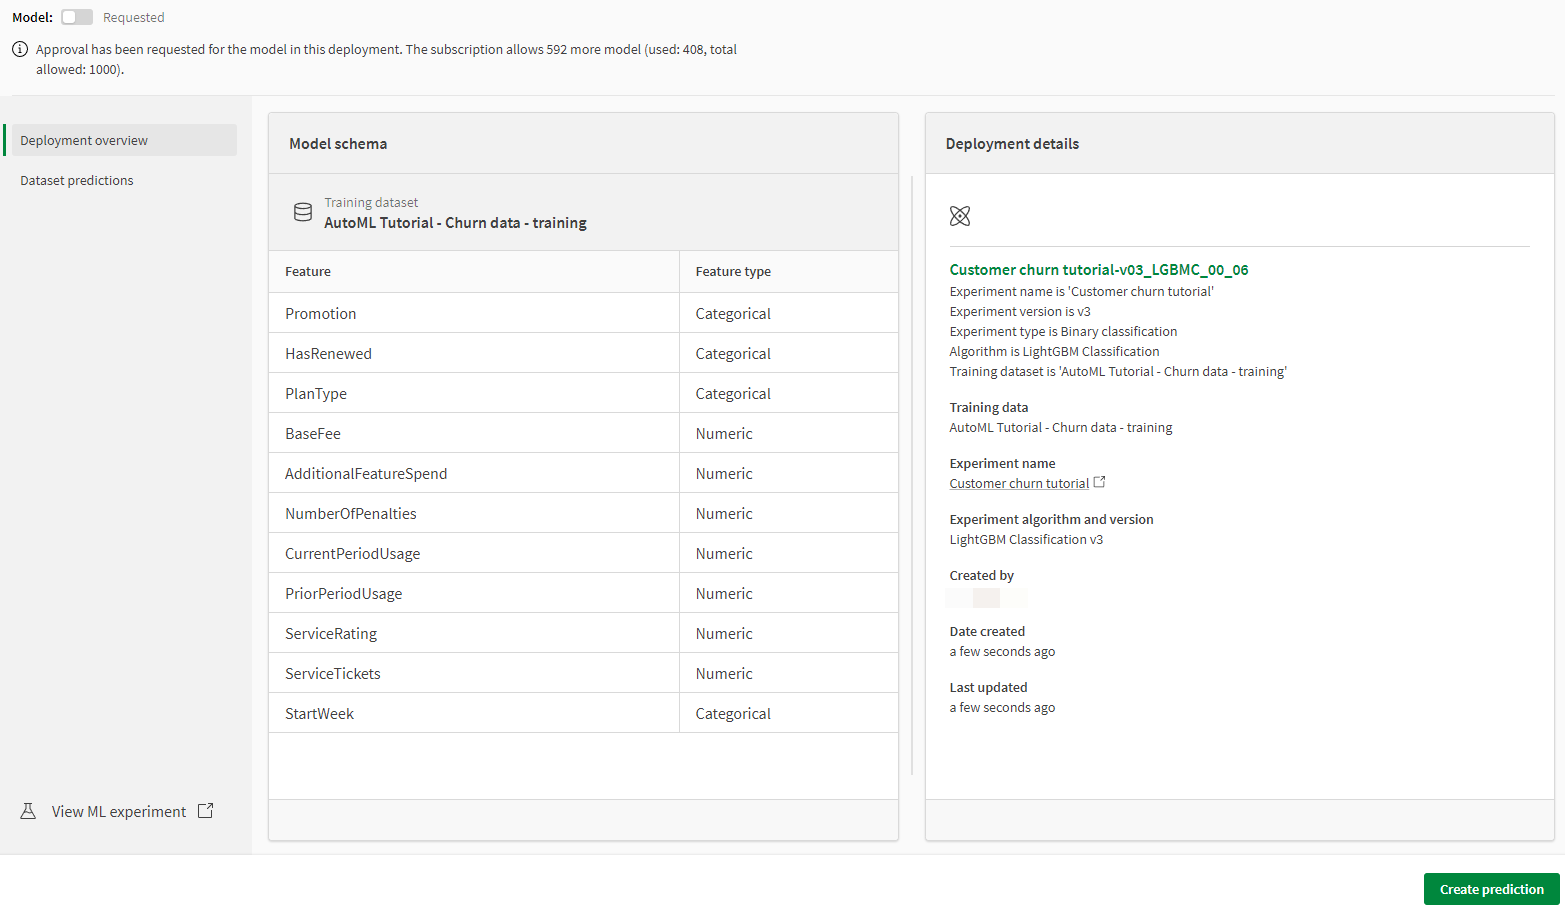
At the top of the ML deployment interface, notice that the model in the deployment is in Requested state. This means that a model approver needs to activate it so it can generate predictions.
ML deployment interface, showing that the model within the deployment is not yet approved

Do the following:
-
Use the toggle switch at the top of the ML deployment to activate the model.
-
In the dialog that opens, click Activate to confirm.
The model status should now say Active.
For more information about approving models, see Approving deployed models.
You can now proceed to creating predictions with your ML deployment. Move to the next topic in this tutorial.
